Click here to visit Original posting
If you are not able to connect to a particular site and its IP addresses is not resolving properly, it could be a problem with the DNS servers that you are connecting to or an incorrect DNS entry cached in the Windows DNS cache.
If you are having this problem, before you change your DNS servers, you should first you should first try to clear your DNS cache and see if that fixes your problem.
To clear, or flush, the DNS cache in Windows, you can perform the following steps:
- Right-click on the Start Button or press the Windows+X keys on your keyboard. When you do this, a menu will open that contains either Windows PowerShell (Admin) or Command Prompt (Admin). When you see one of these options, click on it and allow the program to run when Windows asks you for permission.
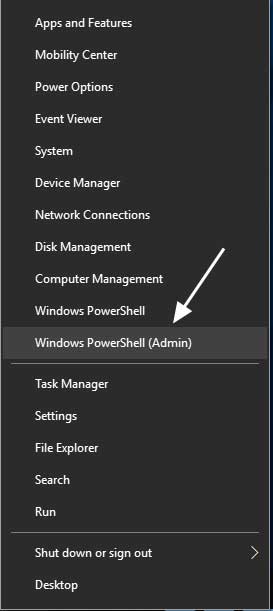
Right-Click Menu - When the Command Prompt or PowerShell opens, type ipconfig /flushdns and press enter on your keyboard as shown below.
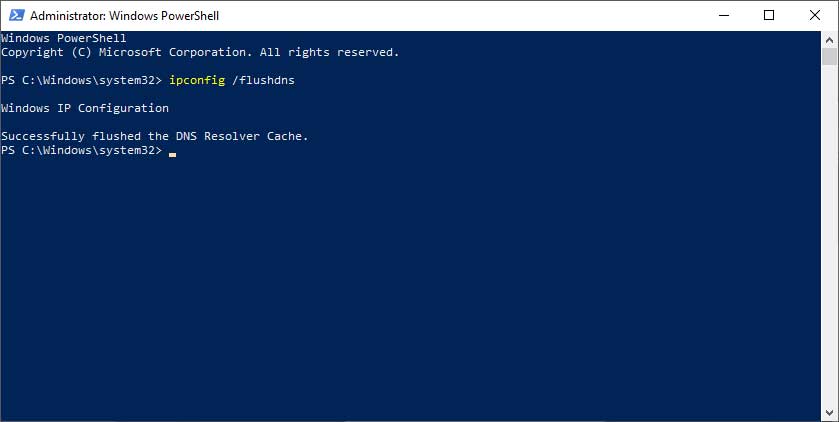
ipconfig /flushdns Command - After you press enter, you should see the command return "Successfully flushed the DNS Resolver Cache." This indicates the command ran successfully and you can now close the PowerShell or Command Prompt Window.
Now that your DNS cache has been cleared, or flushed, you can attempt to connect to the site again. If the problem still persists, then you may want to contact your ISP or change your DNS servers to Google's 8.8.8.8 service of Cloudflare's 1.1.1.1 DNS service.