Click here to visit Original posting
The Windows Registry is a centralized hierarchical database that is used by Windows to store system settings, hardware configurations, and user preferences. The Windows Registry can be explored by using a program called the Windows Registry Editor, but modifying the wrong key could cause your computer to not boot properly, so it is advised to only use it as necessary.
More detailed information about the Windows Registry can be found in our Demystifying the Windows Registry article.
When making a change to the Registry, it is recommended that you first create a export of the entries that you are about to modify. This allows you to save the information to a Registry file, or .reg file, so that if a problem occurs you can import the original settings back into the Registry.
You can see an example of a Registry file below, where each setting is saved as text in the file.
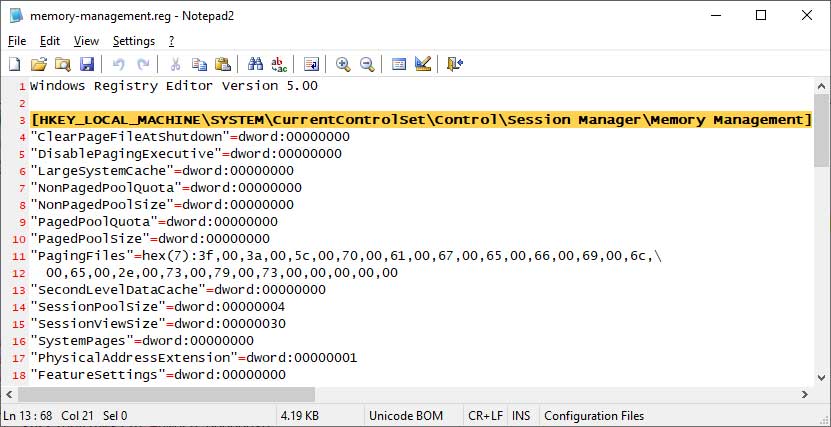
If you need to import the data back into the Registry, and overwrite any existing settings that it corresponds to you, you would simply double-click on the Registry file and allow the changes to be merged when Windows prompts you.
Below we have provided two methods that you can use to export data from the Windows Registry.
Method 1: Export a Registry key using the Windows Registry Editor
For most people, the easiest method to export a Registry key is to use the Windows Registry Editor. The Windows Registry Editor, otherwise known as regedit.exe, is a graphical tool that allows you to modify the Windows Registry.
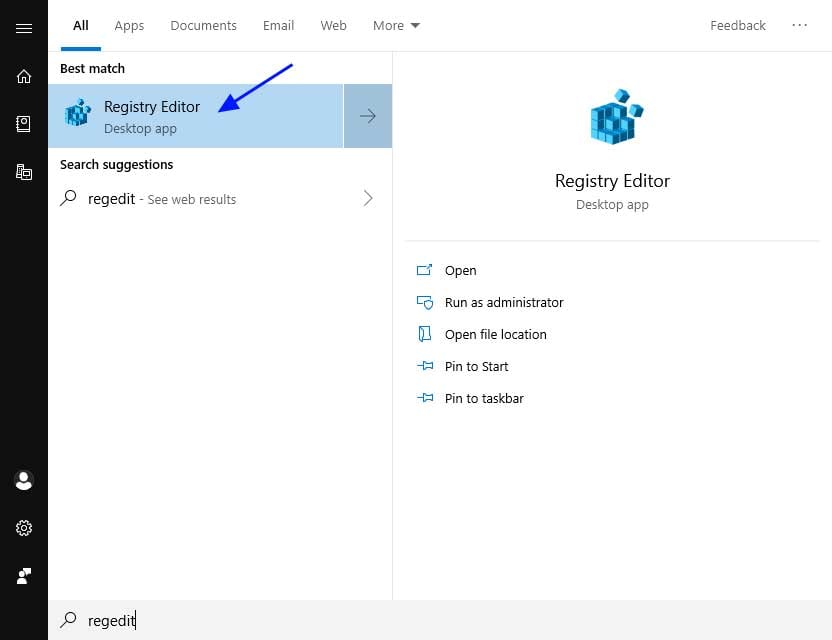
To open the Registry Editor, type regedit in the Start Menu search field as shown below and then select Registry Editor.
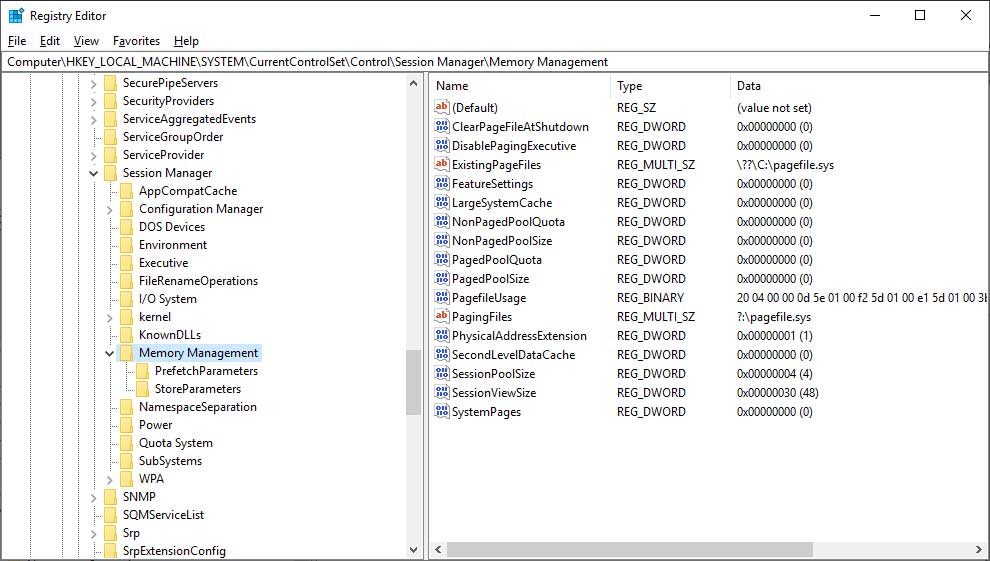
When the Registry Editor opens, navigate to the key that you would like to export. In our example, we are going to export the HKEY_LOCAL_MACHINE\SYSTEM\CurrentControlSet\Control\Session Manager\Memory Management key.
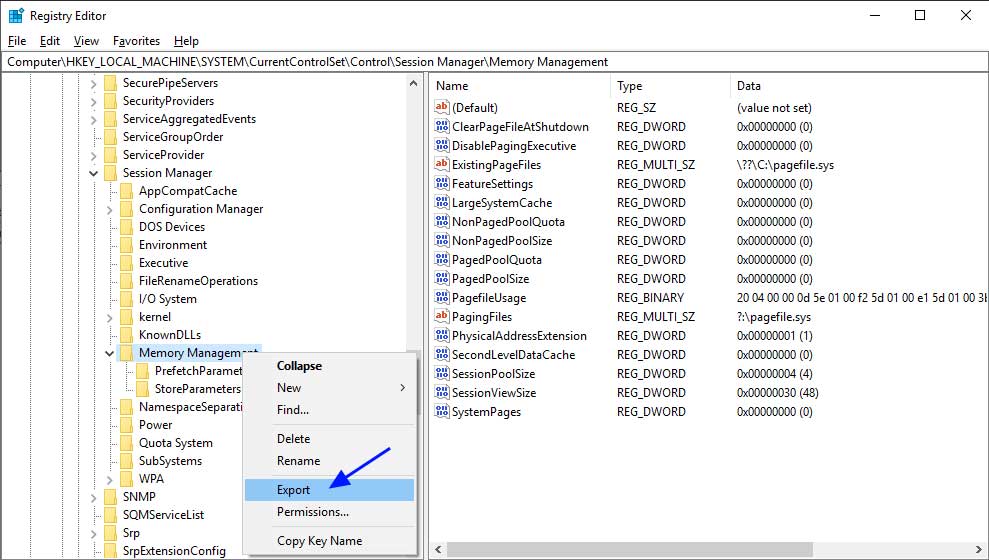
When at the key you wish to export, right-click on the key name and select Export as shown below.
Windows will now prompt you for a location and file name that you wish to save the Registry information. Please select the location, enter a filename, and press the Save button.
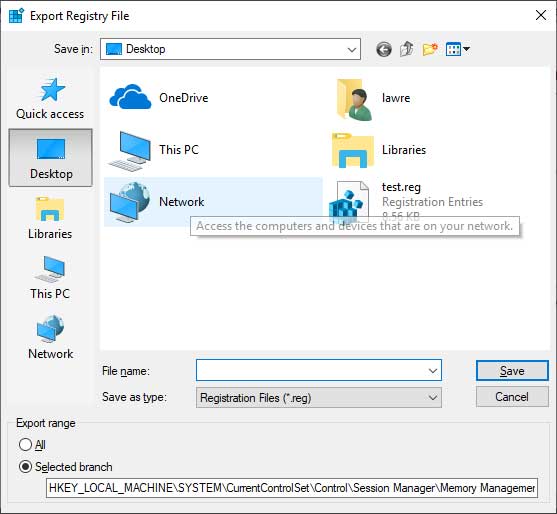
After saving the Registry file, you will see a file ending with the .reg extension at the location you saved it to.
![]()
This file can be used in the future to restore your exported settings if needed.
Method 2: Export a Registry key using the Reg command-line command
Windows includes the reg.exe program that can be used to manipulate the Windows Registry from the command line. In order to use this tool, you will need to open an Elevated Command Prompt.
Once an elevated command prompt is open, you can use the reg.exe command to export a Registry key using the following syntax:
reg export [key] [file_name]
For example, to export the reg export "HKEY_LOCAL_MACHINE\SYSTEM\CurrentControlSet\Control\Session Manager\Memory Management" to the test.reg file, you would use the following command:
reg export "HKEY_LOCAL_MACHINE\SYSTEM\CurrentControlSet\Control\Session Manager\Memory Management" test.reg
Please note, when entering the Registry key to export, we enclosed it in quotes because there was a space in the key name.
You can see an example of this command being used in the image below.
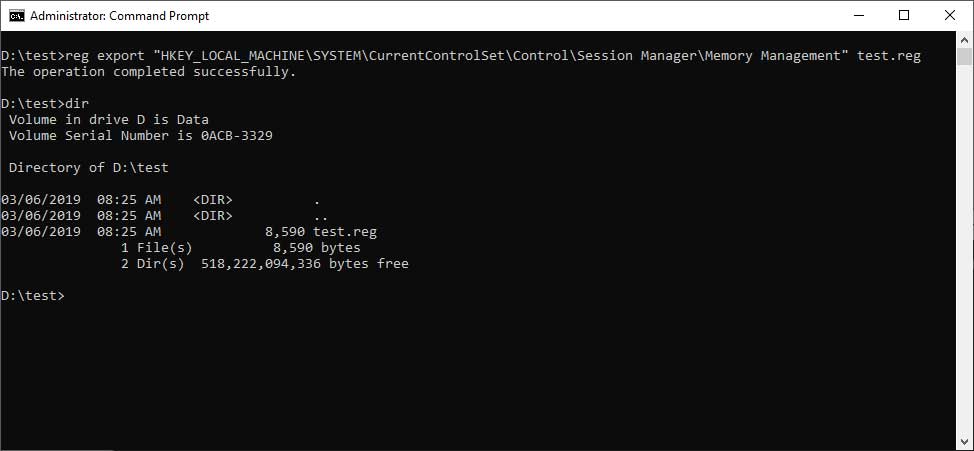
Once the command is executed, a file will be created, which in our case is test.reg, that contains the exported Registry key.