Click here to visit Original posting
Sometimes when you create a Hyper-V virtual machine, you may name it with a name that is not accurate or that you no longer wish to use. This article will provide three methods to rename a Hyper-V virtual machine so that it uses the name that you want.
Rename a Hyper-V virtual machine using the F2 Key
The easiest and quickest way to rename a Hyper-V virtual machine is to simply use the F2 function key on your keyboard while in the Hyper-V Manager.
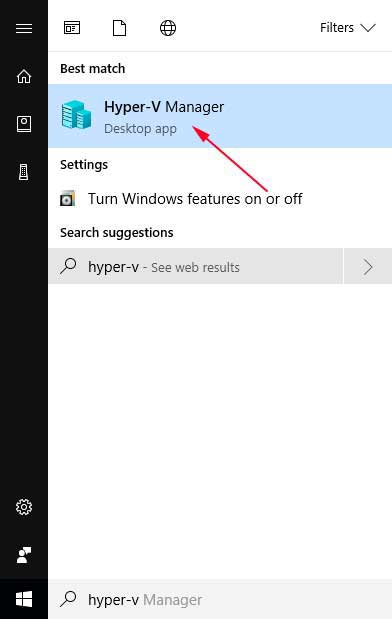
To do this, launch Hyper-V Manager by typing Hyper-V in the Start Menu search field and then selecting Hyper-V Manager when it appears as shown below.
When Hyper-V Manager is open, simply single left-click on a VM that you wish to rename so that it becomes selected. Then press the F2 key on your keyboard and the virtual machine's name will become a field you can edit as shown below.
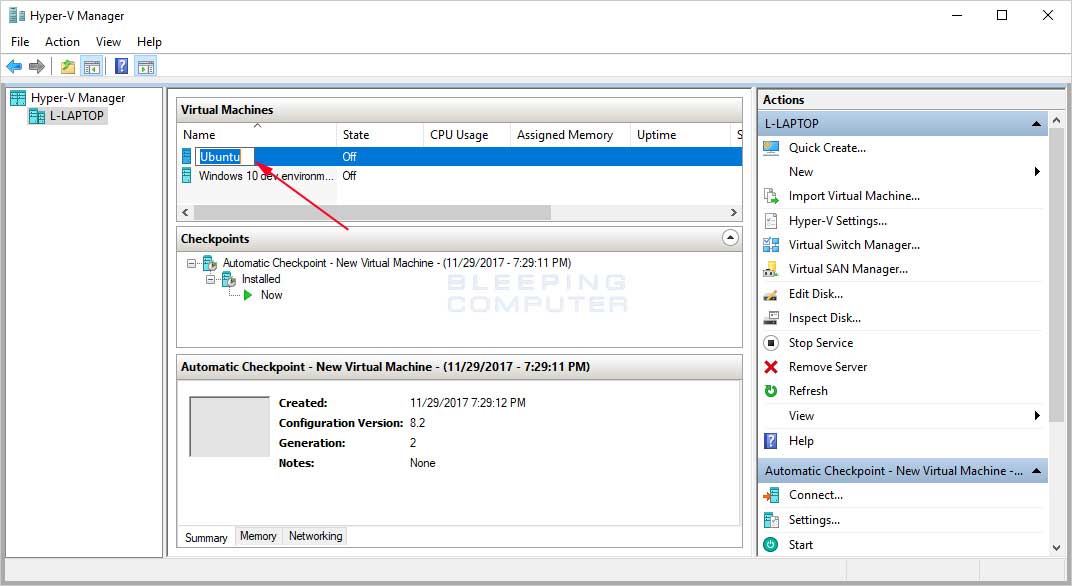
Now type the new name that you wish to use for the virtual machine and when done, press Enter on your keyboard. The Virtual Machine will now be using the new name.
Rename a Hyper-V VM using its Hyper-V Manager Context Menu
To rename a Hyper-V virtual machine using Hyper-V Manager please follow these steps:
- Launch Hyper-V Manager by typing Hyper-V in the Start Menu search field and then selecting Hyper-V Manager when it appears as shown below.
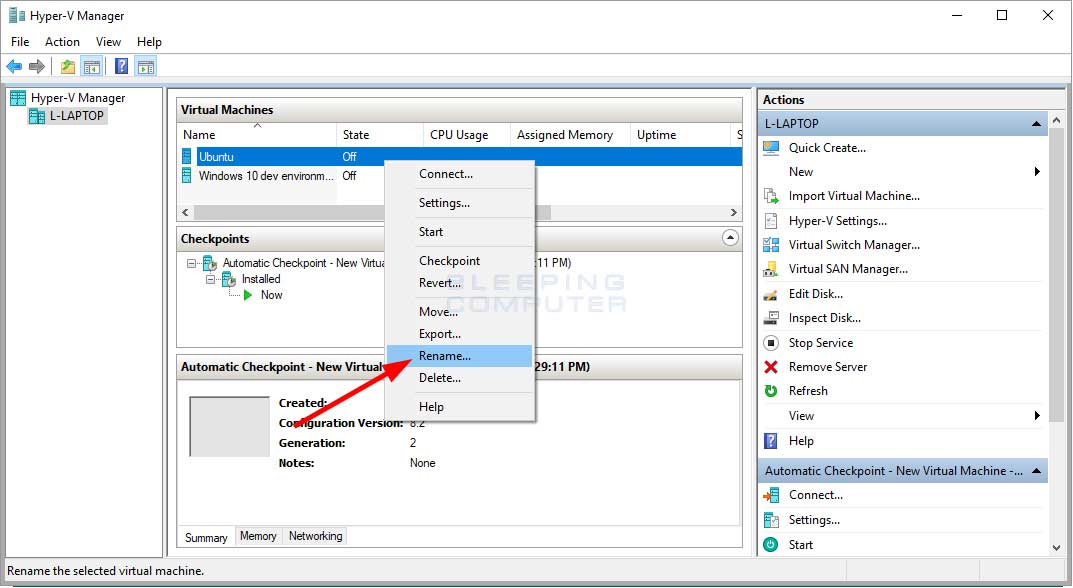
- Once Hyper-V manager opens, find the VM that you wish to rename and right-click on it so that its context menu appears. As you can see from the image below, there is an option named Rename.... If this is the VM you wish to rename, click on Rename.
- The VM's name will now become a field you can edit. Simply erase the current name and enter the new name that you wish to use.
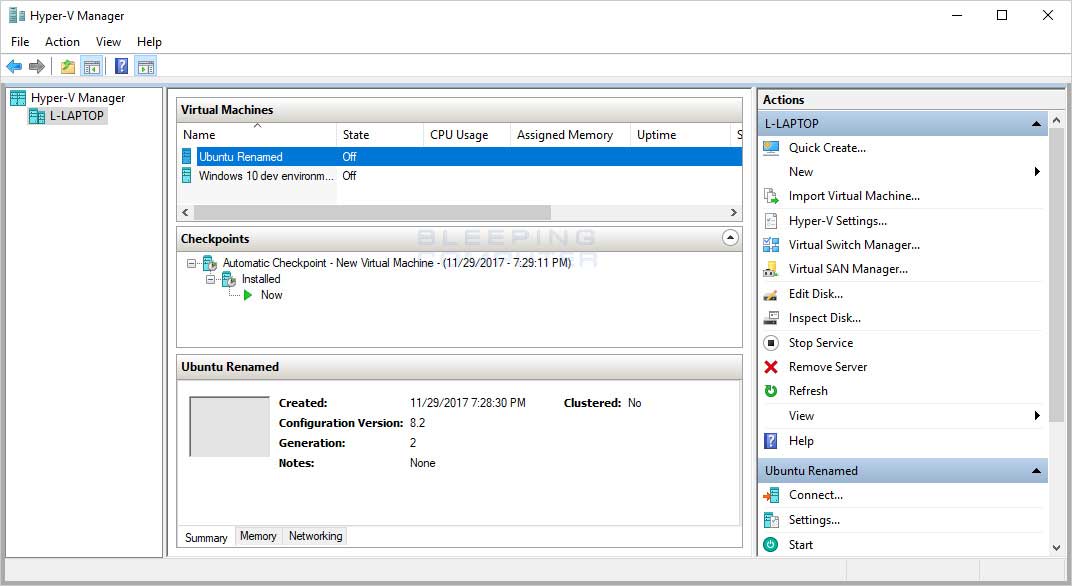
- When done, press Enter on your keyboard and the virtual machine will now be using the new name
You can now close Hyper-V Manager.
Rename a Hyper-V virtual machine using PowerShell
For those who wish to rename a Hyper-V virtual machine via the command line or through scripts, you can use PowerShell Rename-VM command to rename the machine. To rename a VM using PowerShell you can use the following steps:
- Start PowerShell with Admin privileges by clicking on the Start Menu button (
 ) and then selecting Windows PowerShell (Admin) as shown below.
 - When PowerShell opens, you can get a list of install VMs by typing Get-VM and pressing the Enter key on the keyboard. The Get-VM command will out a put of virtual machines and their names.
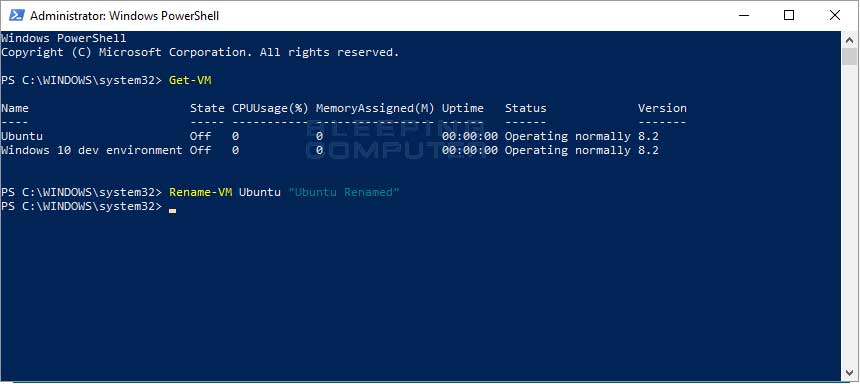
- To rename a VM, you need to use the Rename-VM command. This command takes two arguments, the name of the VM to rename and then the new name you wish to rename it to. It is important to note that when using names that contain spaces, you need to put quotes around the name.
For example, we are going to rename the Ubuntu virtual machine to Ubuntu Renamed. To do this, we enter the command Rename-VM Ubuntu "Ubuntu Renamed" and press Enter on the keyboard.
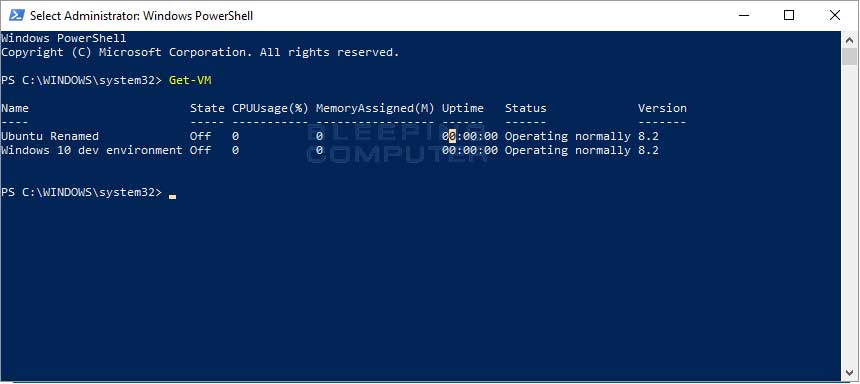
- When PowerShell renames a virtual machine it will not display any output. To see if the VM has been renamed, you can issue the Get-VM command.
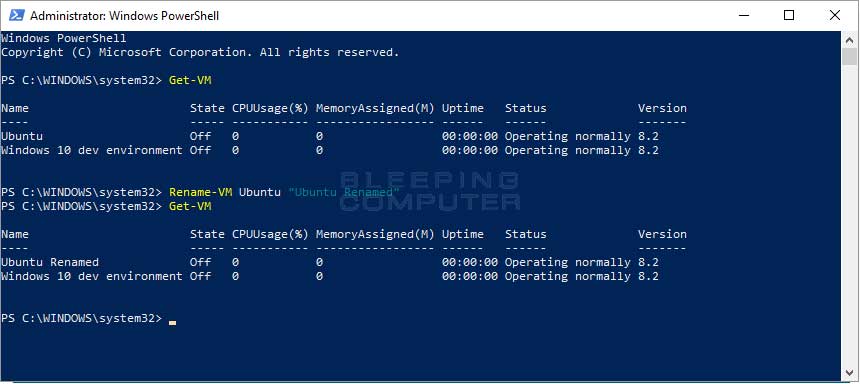
- As you can see the VM was renamed from Ubuntu to Ubuntu Renamed. You can now type Exit and press Enter to exit PowerShell.